Install “Lomorage Photo Assistant” on Windows #
1. Download #
Click the Windows icon link below to download “Lomorage Photo Assistant” For Windows.
2. Double click “lomoagent.msi” to start installation. #
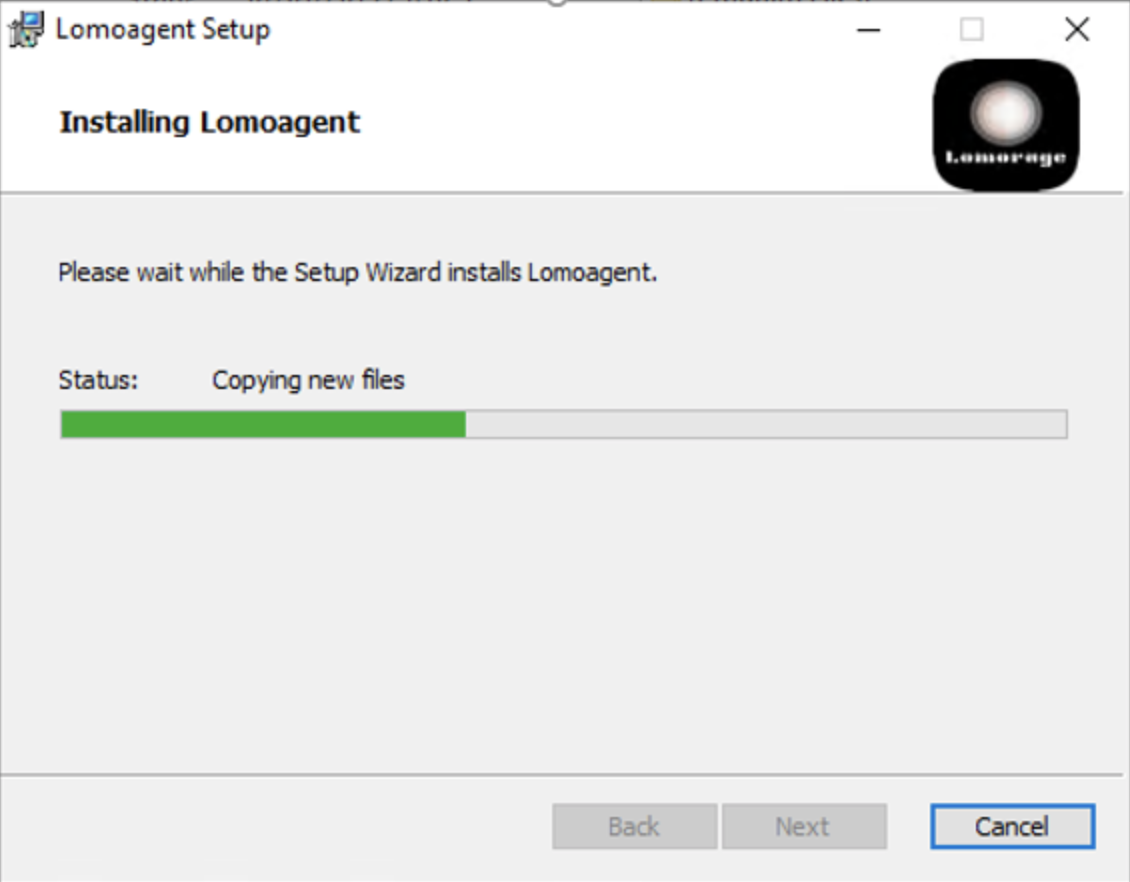
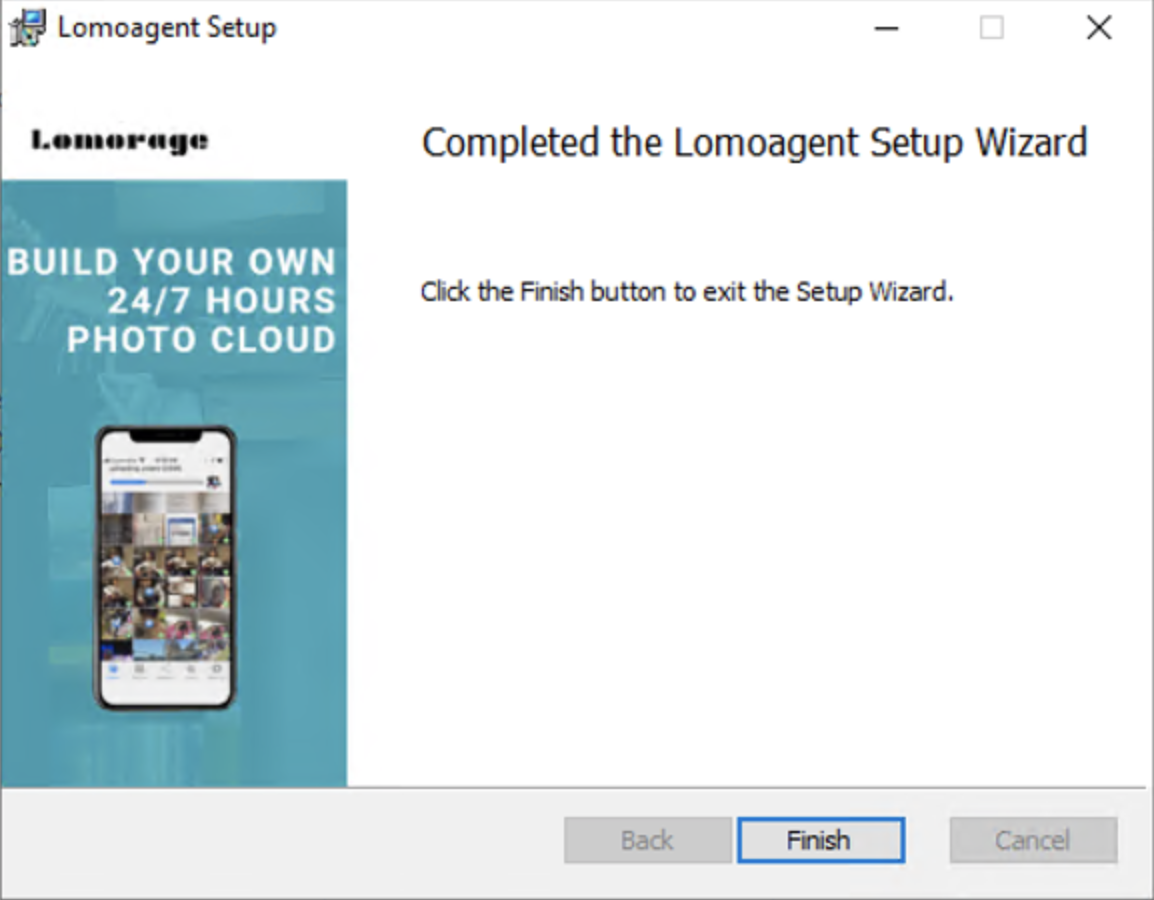
3. Follow the wizard #
to finish the installation, in the End-User License Agreement, please checked the box as below.

4. Allow network access #
Now you should see the lomoagent icon on your desktop, you can double click to start “Lomorage Photo Assistant”. If you meet below dialog popuped up by the Windows os, please select “Private networks …” one and click the Allow access.

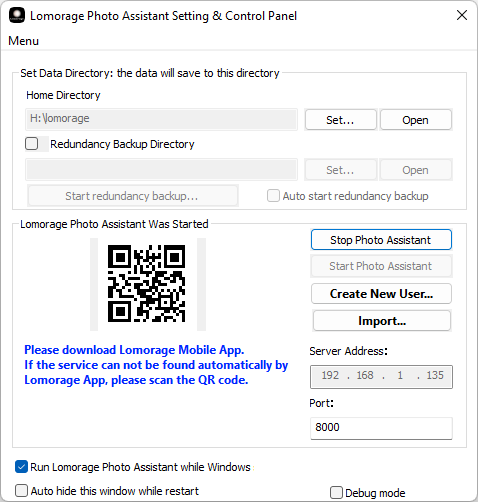
5. Config data folder #
You will see below picture while you start “Lomorage Photo Assistant”, You need to config the “Data directory” before using it,“Data directory” is used to save the photos and videos uploading from your phone.
6. Open Web Client #
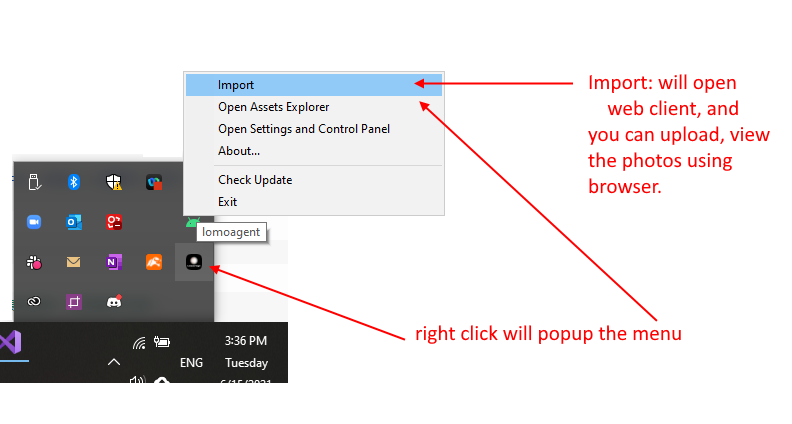
The Setting Windows will be hide to your taskbar tray area, normally it is on the right of the task bar like below picture:
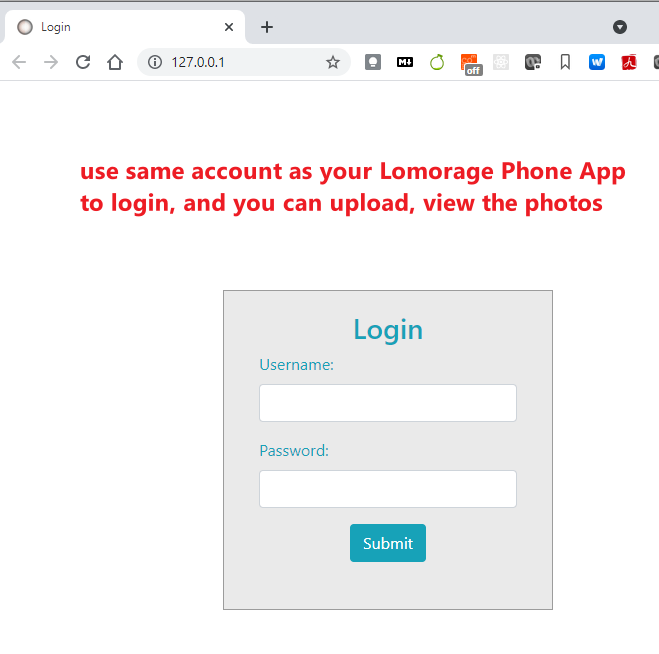
Web client as below picture.
7. You can access this web interface via http://ip(the ip shown on the Settings Windows) from other device. #
8. if create user failed, please try to turn off Windows Firewall #
Enjoy!
Contact to us: [email protected]
If you are using HEIC/HEIF format on iPhone, you need to install “ HEIF Image Extensions” and “ HEVC Video Extensions”.