Unraid #
1. Search lomorage from app store #
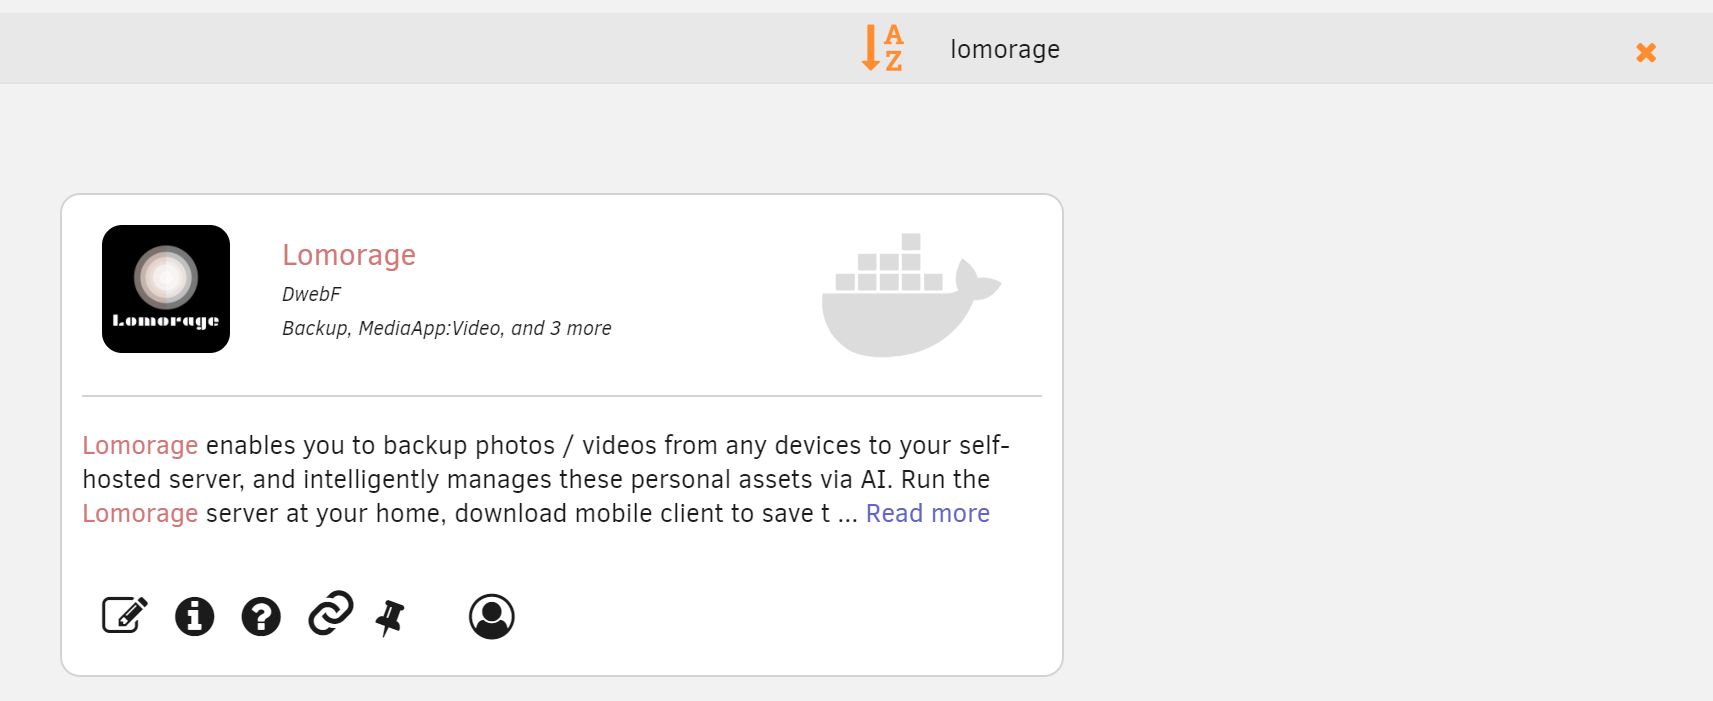
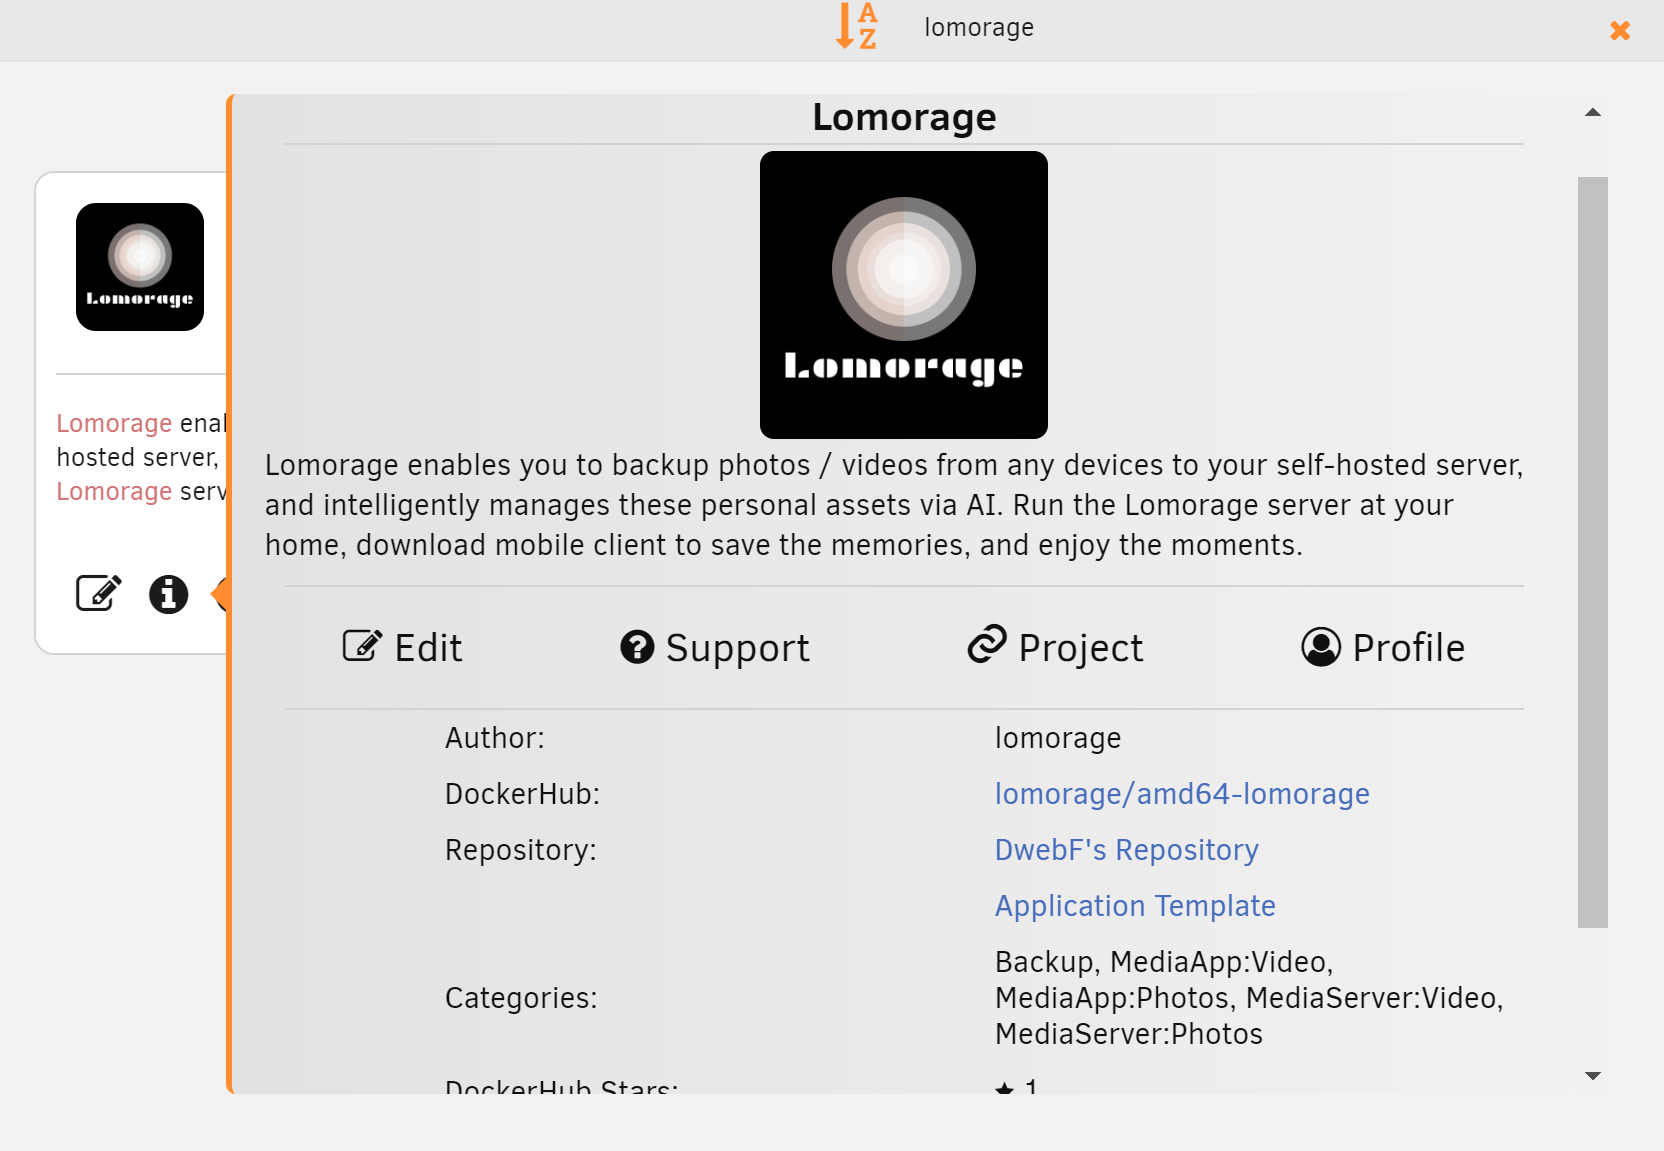
Once lomorage is found, you can also click info icon to learn more about lomorage support at unraid forum
2. Click install. You are done! #
Unraid template customization #
Below is the explanation on template configuration.
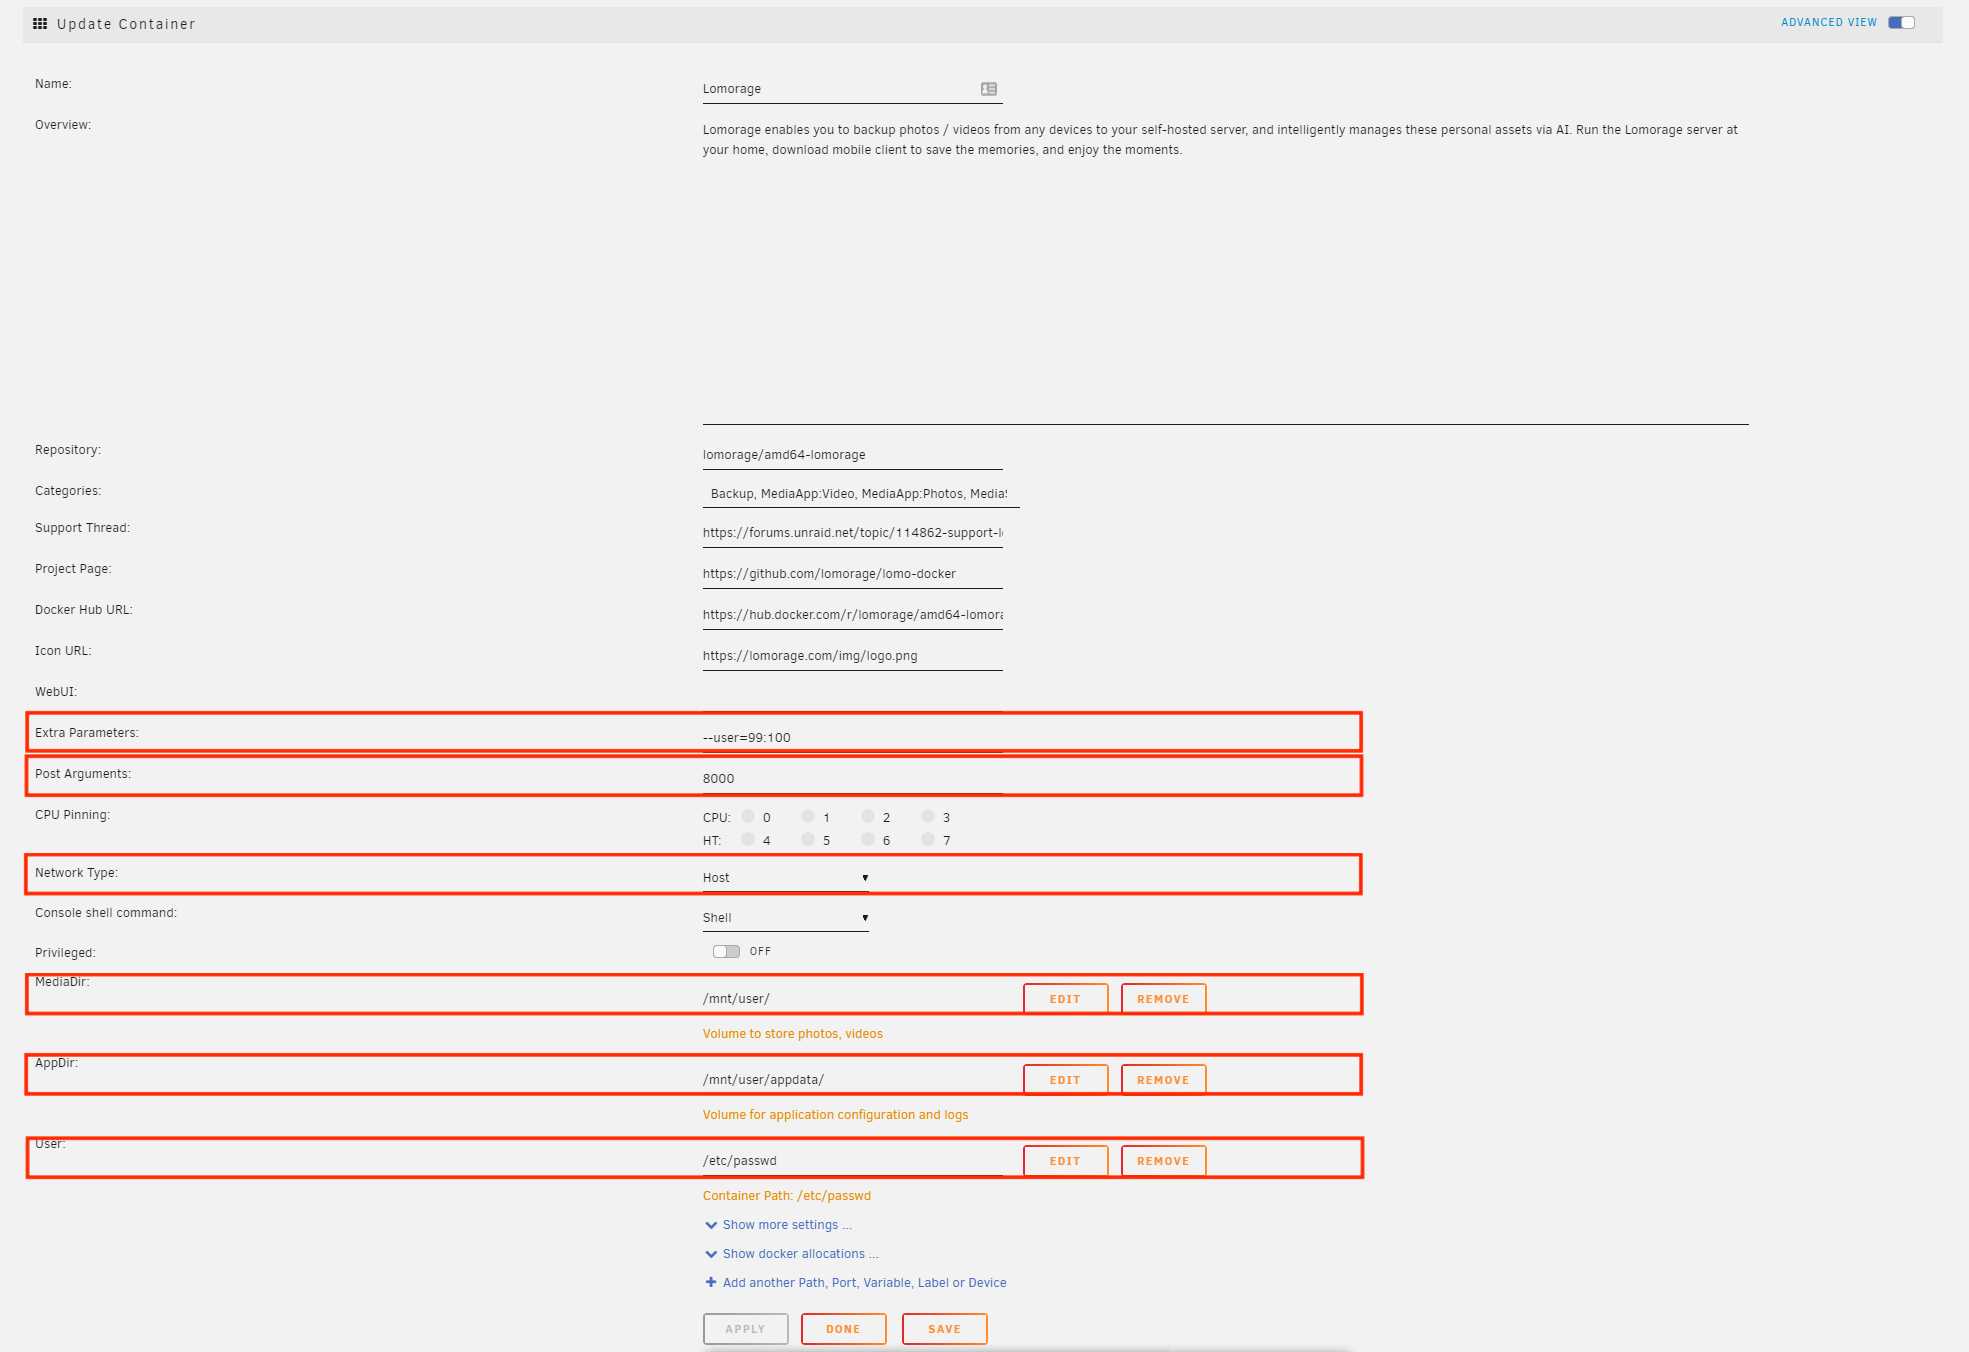
- Network: Default value is
hostmode because mobile client uses MDNS to auto-discover “Lomorage Photo Assistant” listen address and port. It can be changed tobridgemode if user wants to configure these information from mobile client by yourselves. - ExtraParams: Default value is
99:100. This parameter need combined together withUsermount configuration. It is to make sure uploaded photos/videos have right user/group permission, and can be browsed via unraid share feature. 99 is user ID ofnobody, and 100 is group ID ofnobody. User can customize it based on his own user configuration. - PostArgs: Default value is
8000which is Lomorage API backend listening port - Config
- MediaDir: This is uploaded media storage directory. Default value is
/mnt/user/ - AppDir: This directory stores configuration file, database file, log files, etc, used by “Lomorage Photo Assistant”. Default value is
/mnt/user/appdata - User: This mount file is to ensure “Lomorage Photo Assistant” uses the same user ID and group ID as host unraid OS. Lomorage will never read the confidential data inside the file
- MediaDir: This is uploaded media storage directory. Default value is
Nginx Proxy Manager integration #
Nginx Proxy Manager is a popular self-host tool to easily forward your websites running at home to the public internet. It has one official app on Unraid community, and user can install by their own.
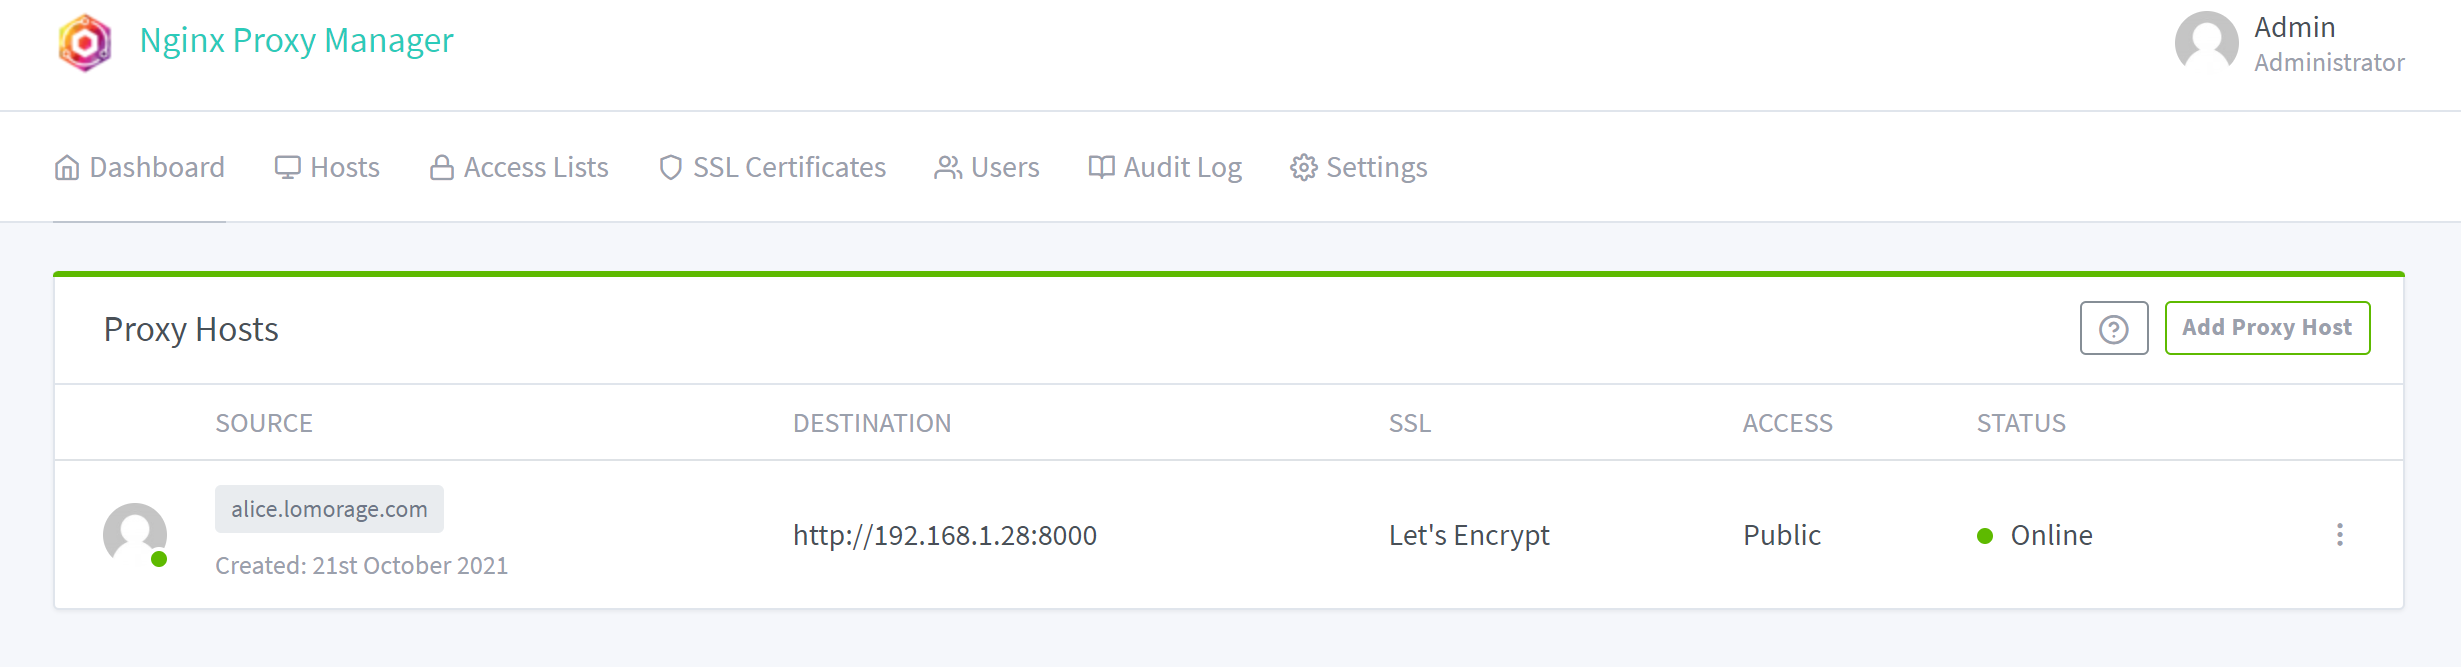
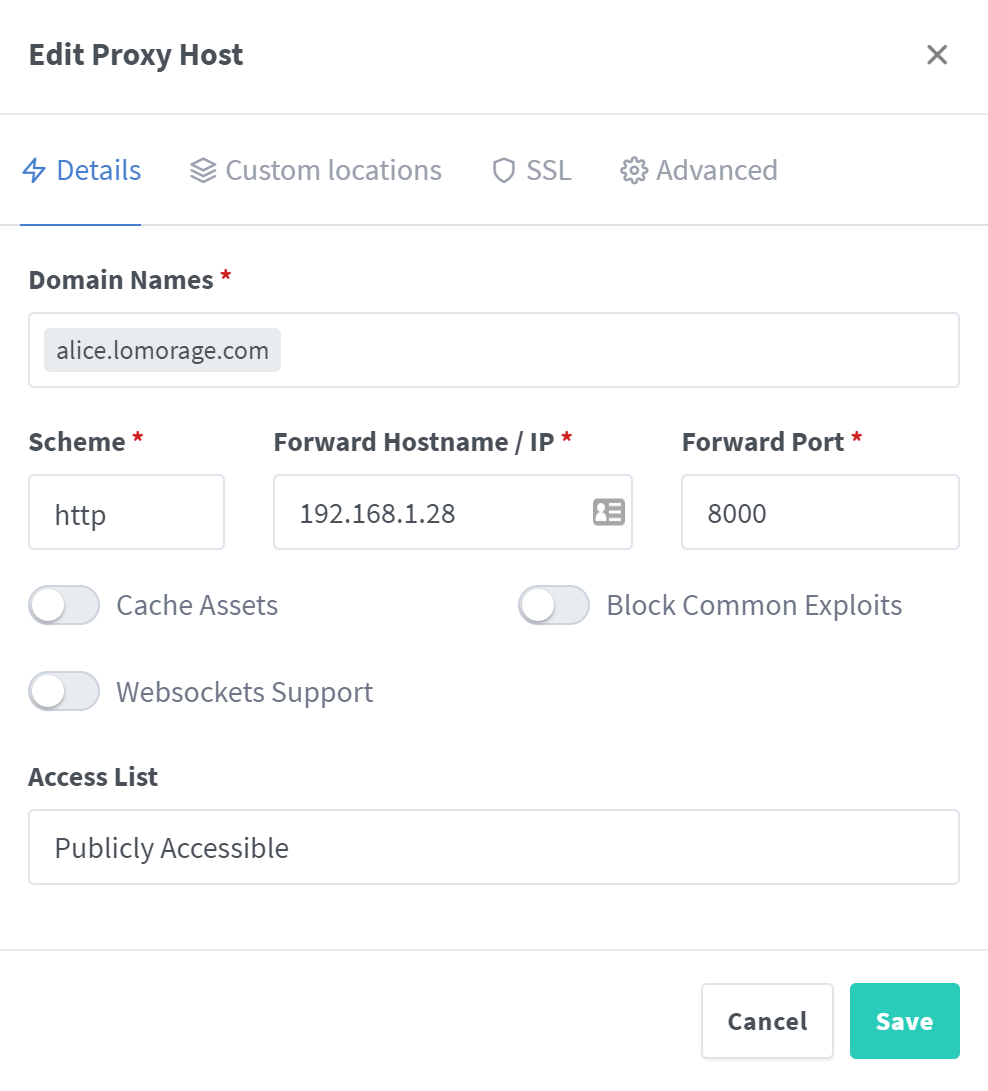
- Click
Add Proxy Host, then set your own domain name and forward ip as below screen. Schema ishttp, and forward port is the listen port configured for Lomorage container, 8000 is default listen port.
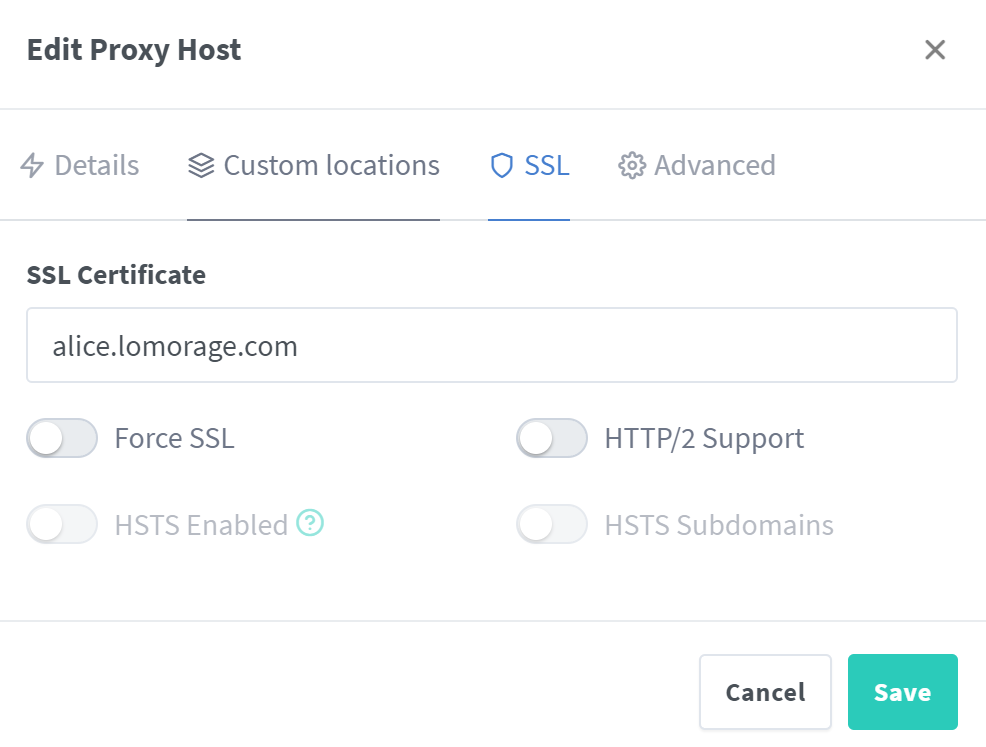
- Enable
SSLconfiguration and set certificate domain name as your own domain name
- Click
Save, and below host should be added into the host list