Install “Lomorage Photo Assistant” on Raspberry Pi #
To run on Raspberry Pi, you need to order a Raspberry Pi, we have tested the image the following models:
If you don’t have one yet, we would recommend the newer version, which gives better performance. The minimum set you need includes:
- Raspberry Pi board
- Power supply
- 16GB MicroSD card
A Raspberry Pi 3 B+ (PLUS) Starter Kit is good enough for the setup.
There are 3 options to install “Lomorage Photo Assistant” on Raspberry Pi, one is using the prebuild OS image which has all the dependencies installed, or you can run docker image on your existing running Raspberry Pi, or if you can just use APT install.
Install with prebuild OS image #
The prebuild image includes all Lomorage packages, including:
lomo-backend: “Lomorage Photo Assistant” backend
lomo-base: network configure tool, button control, hard drive mount tool (usbmount modification), bluetooth console
lomo-frame: the digital frame application
Click the link below to download the prebuild OS image.
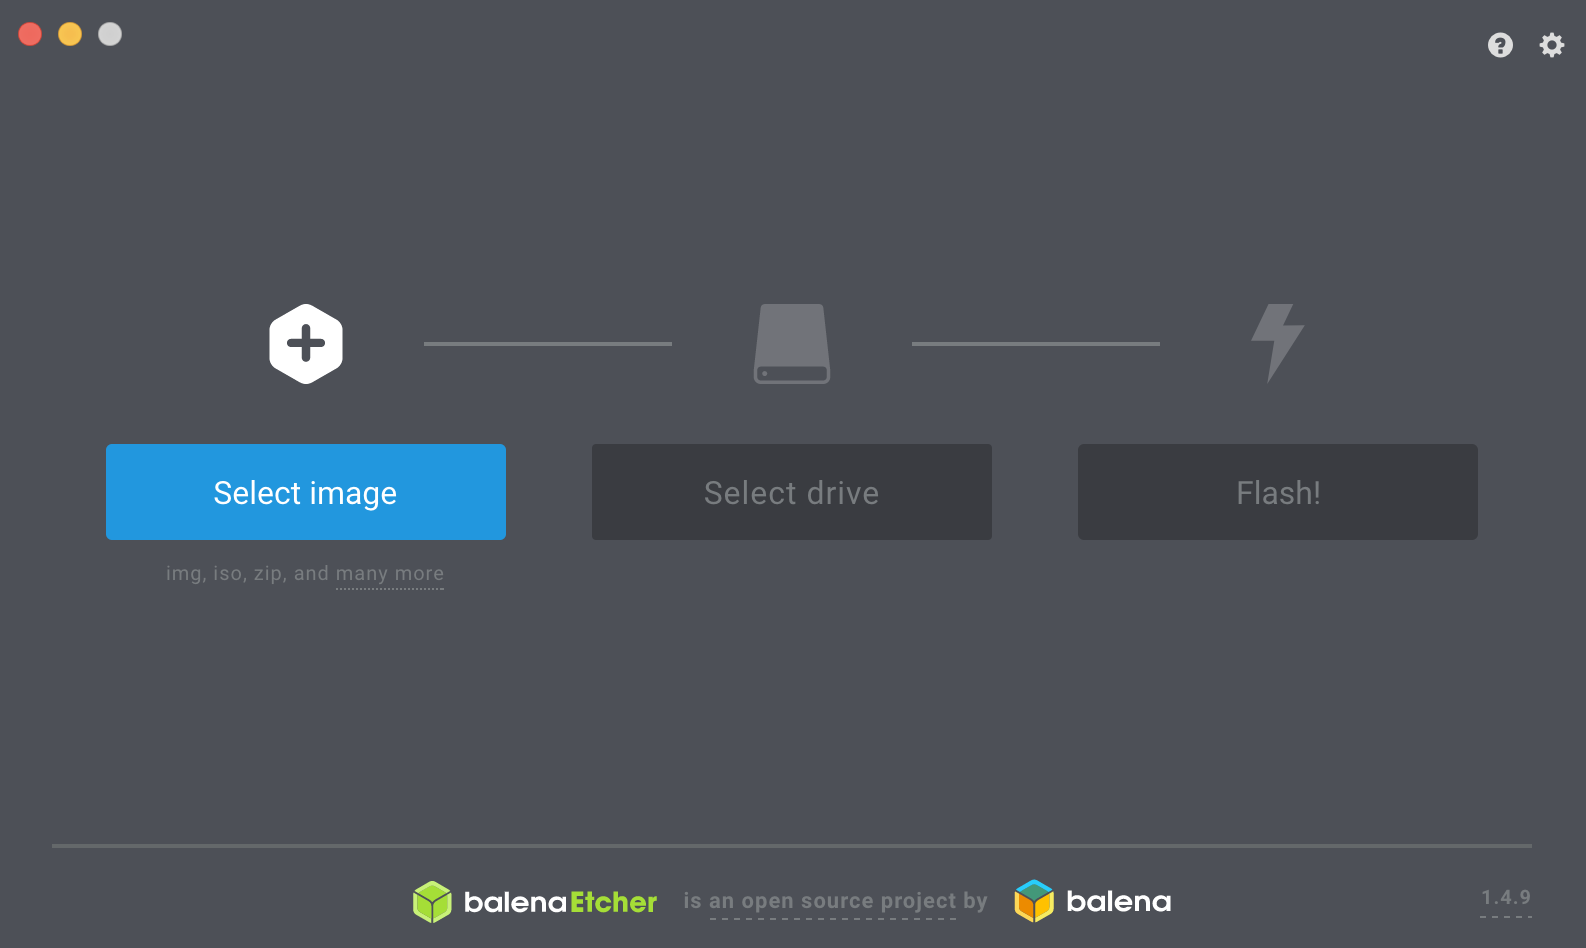
After you download the customized OS image, you can install the image to MicroSD card using balenaEtcher, which is available on both Windows and macOS.
After you insert the MicroSD to your desktop or laptop, just select the image you download, choose the MicroSD drive, and click “Flash”, it will be done in a few minutes.
After flushing the image, insert the microSD into Raspberry Pi board, connect USB hard drive with Raspberry Pi, plug in a network cable, plug in the power supply, turn on the power and wait a few minutes for system boot.
If you have HDMI connected, after system boot successfully, it will show up a screen that no able to find any assets, and will also show a QRCode for register the lomo frame, please create user on iOS/Android APP first before scanning the QRCode to bind the lomo frame. You can upload photos using Lomorage Phone app, and then press “r” to rescan. If you want to quit to terminal to do some configuration, just press “ESC” and then “Ctrl+Alt+F2”, after you made any changes and want to start lomo-frame, use command sudo service supervisor restart.
The default login username is “lomoware” and password is “lomorage”
We suggest use cable to provide better performance, but if you prefer to use WiFi, you can login Raspberry Pi and use the command wifi_switch.sh client "wifi-ssid" wifi-password, replace “wifi-ssid” and “wifi-password” with those of your wifi network. Make sure you have quotation mark around “wifi-ssid” if you have space or unicode character in it, for example wifi_switch.sh client "Lomorage's 2.4G" mypassword.
You probably will have the problem that “Wi-Fi is currently blocked by rfkill”. You can confirm this by running:
pi@raspberrypi:~ $ sudo rfkill list all
0: phy0: Wireless LAN
	Soft blocked: no
	Hard blocked: no
1: hci0: Bluetooth
	Soft blocked: yes
	Hard blocked: no
And you can enable WiFi by running:
sudo rfkill unblock 0assuming 0 is the index of Wireless LAN.
After this, you can try
wifi_switch.shagain.
Docker installation #
Please refer to lomo-docker for installation with docker image. You should use the arm image “lomorage/raspberrypi-lomorage:latest”.
Apt installation #
If you have the official Raspbian image installed already, APT installation would be the quickest way to install.
1. Add lomoware source #
sudo apt install -y ca-certificates python3-certifi
sudo update-ca-certificates --fresh
curl -fsSL https://lomoware.lomorage.com/debian/gpg.key | gpg --dearmor | sudo tee /etc/apt/trusted.gpg.d/lomorage-apt-key.gpg > /dev/null
If you are using bookworm:
echo "deb https://lomoware.lomorage.com/debian/bookworm bookworm main" | sudo tee /etc/apt/sources.list.d/lomoware.list
If you are using bullseye:
echo "deb https://lomoware.lomorage.com/debian/bullseye bullseye main" | sudo tee /etc/apt/sources.list.d/lomoware.list
then run:
sudo apt update
2. Install Lomorage #
You need at least lomo-vips and lomo-backend installed.
lomo-backend: mandatory, “Lomorage Photo Assistant” backend
lomo-base: optional, network configure tool, button control, hard drive mount tool, bluetooth console
lomo-vips: mandatory, lomorage vips clone. (A fast image processing library with low memory needs), used by lomo-backend
lomo-frame: optional, the digital frame application
sudo apt install lomo-base lomo-vips lomo-backend lomo-frame -y
Make sure the user can sudo without password, if not, execute the following command to add it:
echo "$USER ALL=(ALL:ALL) NOPASSWD: ALL" | sudo tee /etc/sudoers.d/$USER
3. Configuration parameter customization #
User can use environment variable in “/opt/lomorage/etc/environment” to control configuration parameter as below. You can change based on your own setup.
3.1 Change mount directory #
You may need to specify the mount directory if the USB drive is not mounted in “/media” directory.
For example if you are using PCManFM, then the mount directory will be “/media/pi”. To specify the mount directory to be “/media/pi”, add environment variable LOMOD_MOUNT_DIR=/media/pi in /opt/lomorage/etc/environment, such as
echo "LOMOD_MOUNT_DIR=/media/pi" | tee -a /opt/lomorage/etc/environment
this parameter should be the directory mount, not the sub-directory
Make sure the user has the r/w permission for above mount directory, this parameter should be the parent directory mounted, for example if it’s mounted as “/media/pi/disk0”, then you should use “/media/pi/”.
3.2 HTTP Listen Port #
Lomod listens on port 8000 by default. If it is conflict and you want to specify own listen port, you can add environment variable LOMOD_PORT_HTTP in /opt/lomorage/etc/environment. For example,
echo "LOMOD_PORT_HTTP=8888" | tee -a /opt/lomorage/etc/environment
Another option is cp /lib/systemd/system/lomod.service /etc/systemd/system/lomod.service and then edit “/etc/systemd/system/lomod.service” and change “ExecStart” directly to specify the parameters used(run /opt/lomorage/bin/lomod -h to check the parameters), and run sudo systemctl daemon-reload, then it will use “/etc/systemd/system/lomod.service” instead. “/lib/systemd/system/lomod.service” is expected to be overwritten when upgrade.
3.3 Disable Mount Monitor #
Lomod listens USB disk mount status and prevents app from uploading if USB or UFS mount are lost by default at raspberry PI environment because it may use up OS SD card space very quickly. If you want to disable the monitor, you can add environment variable LOMOD_DISABLE_MOUNT_MONITOR. For example,
echo "LOMOD_DISABLE_MOUNT_MONITOR=1" | tee -a /opt/lomorage/etc/environment
4. Run #
Restart “Lomorage Photo Assistant”:
# restart lomo-backend
sudo systemctl restart lomod

# restart lomo-frame
sudo service supervisor restart