Install Lomorage iOS client #
You can install the application on either iPad or iPhone, the minimum iOS version required in 10.3.

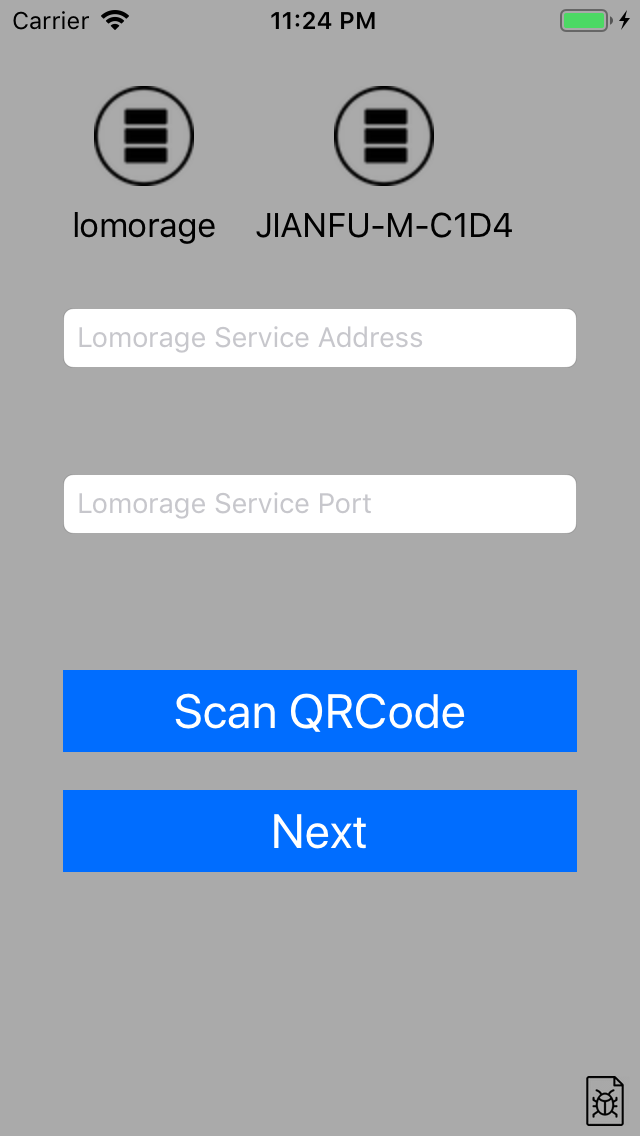
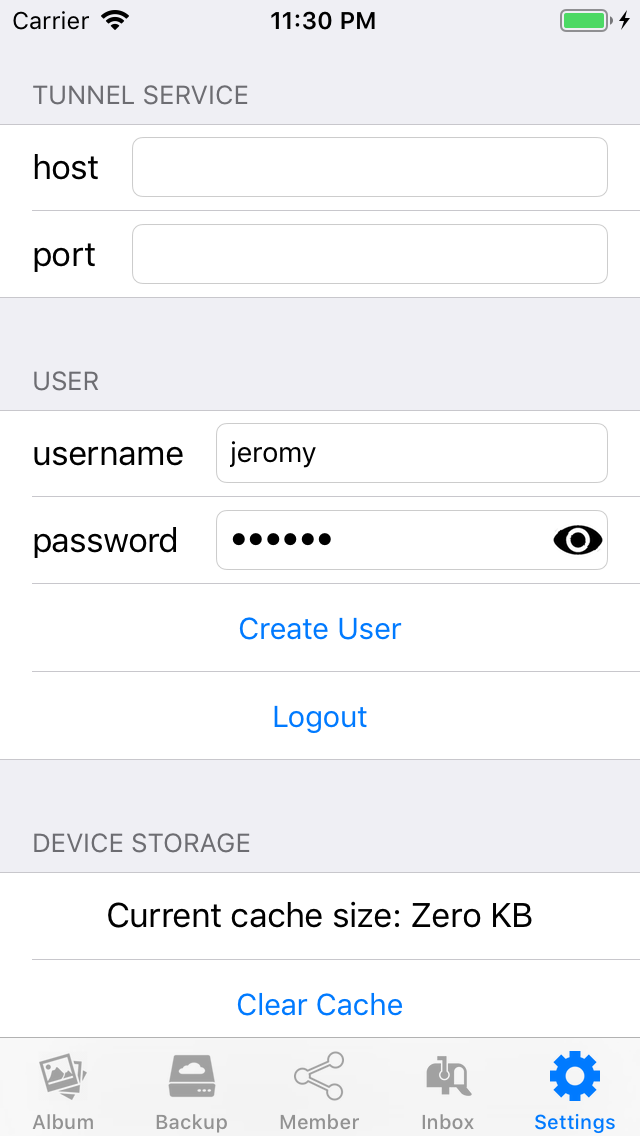
After launching Lomorage, it should be able to discover “Lomorage Photo Assistant” running in the same network. If you have multiple “Lomorage Photo Assistant” instances running, those will be listed and you can choose one to use. If “Lomorage Photo Assistant” can’t be discovered automatically, you can discover “Lomorage Photo Assistant” via QRCode Scanning when using Windows or MacOS Lomorage Photo Assistant (open settings in Lomorage Photo Assistant to show the QRCode), or you can input the IP address and port manually.
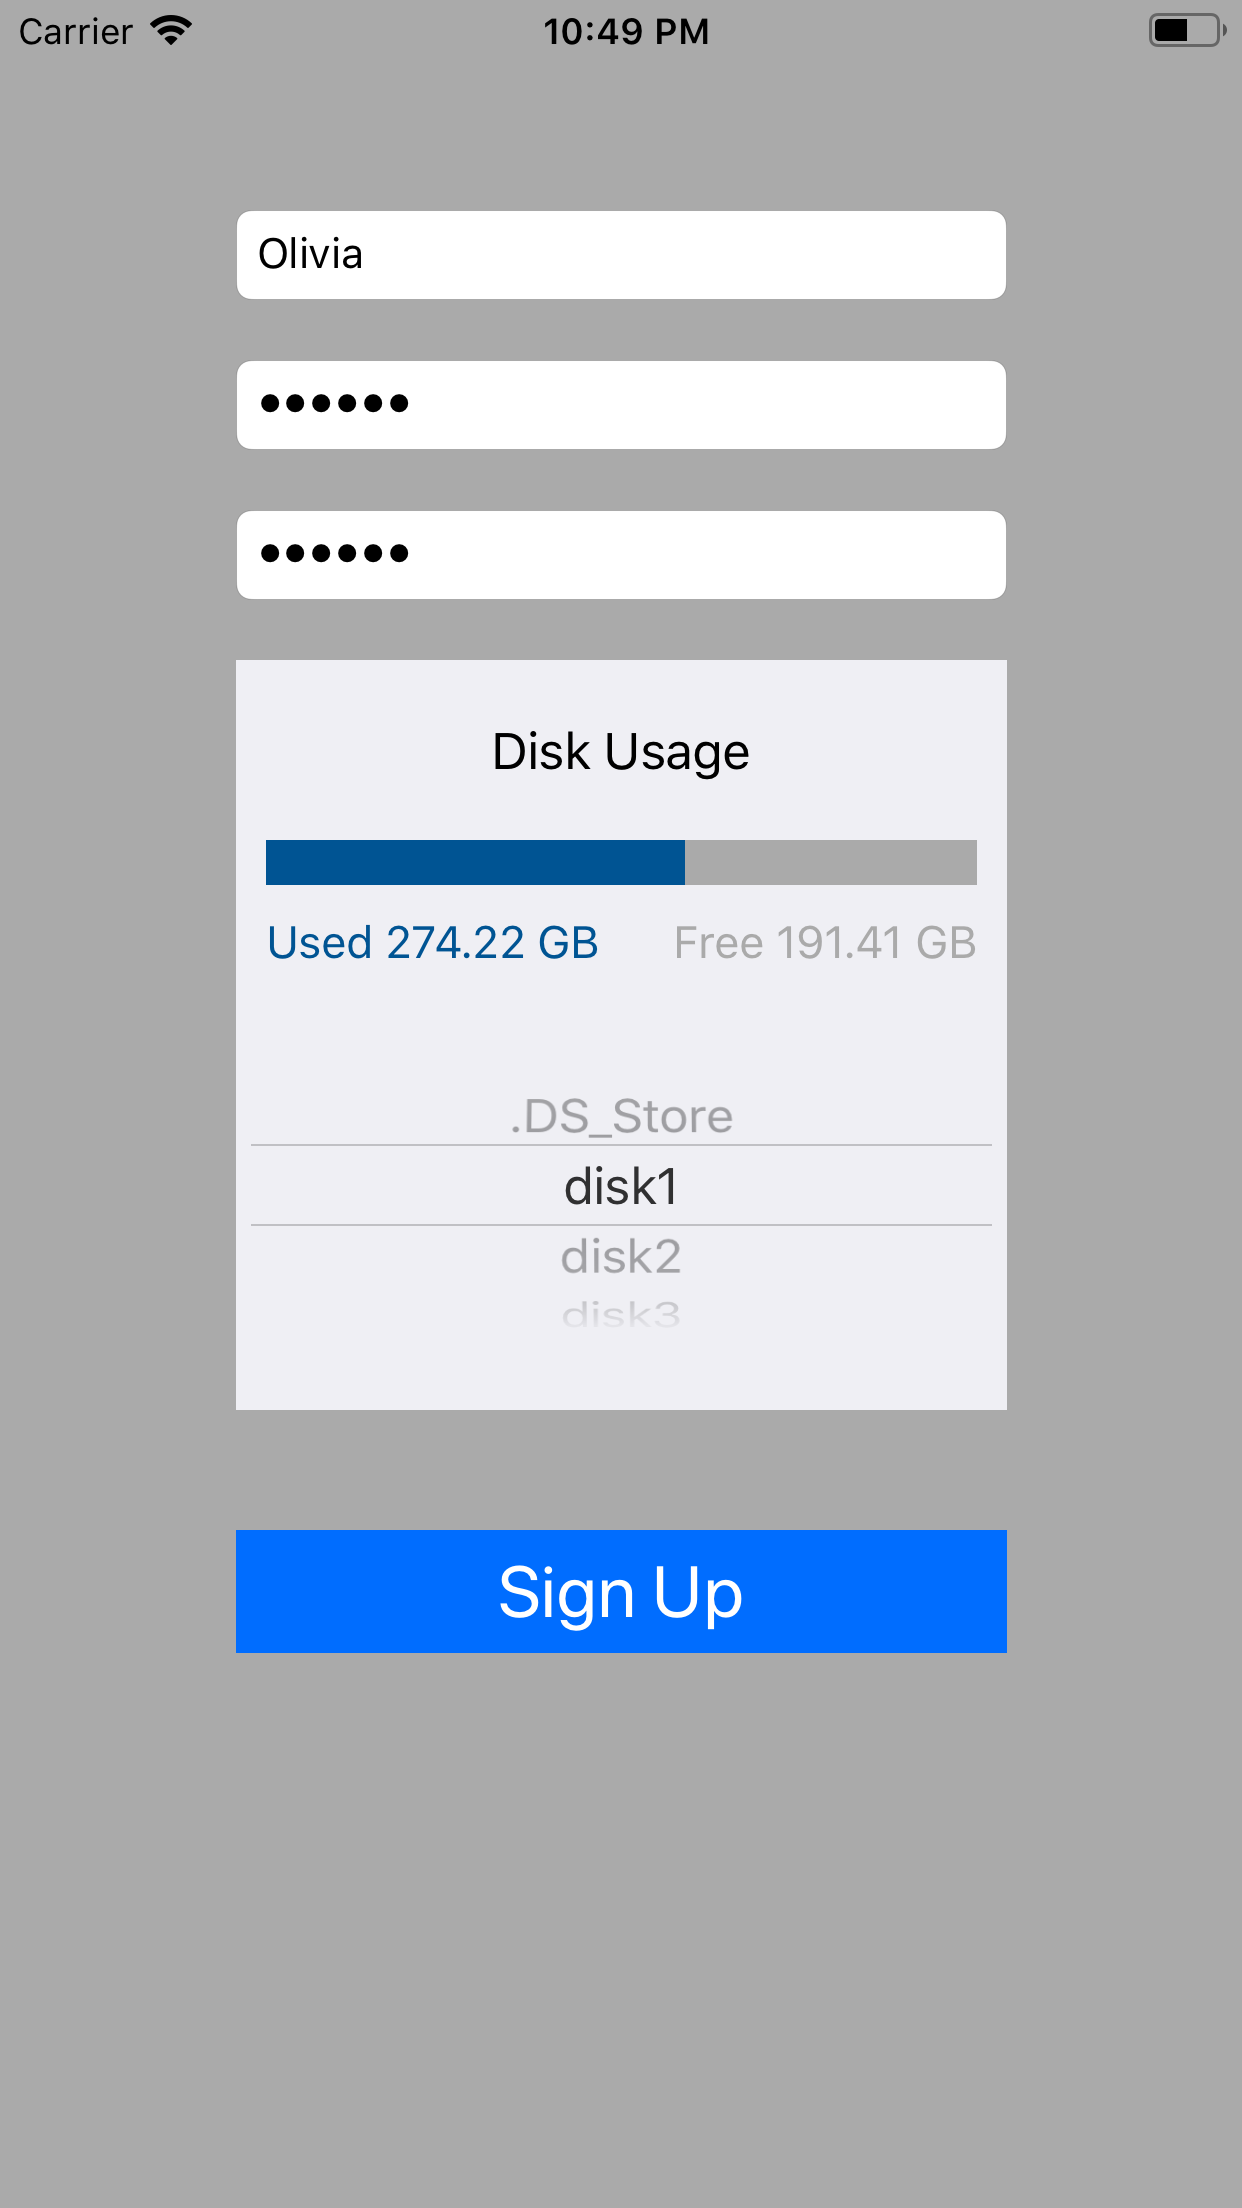
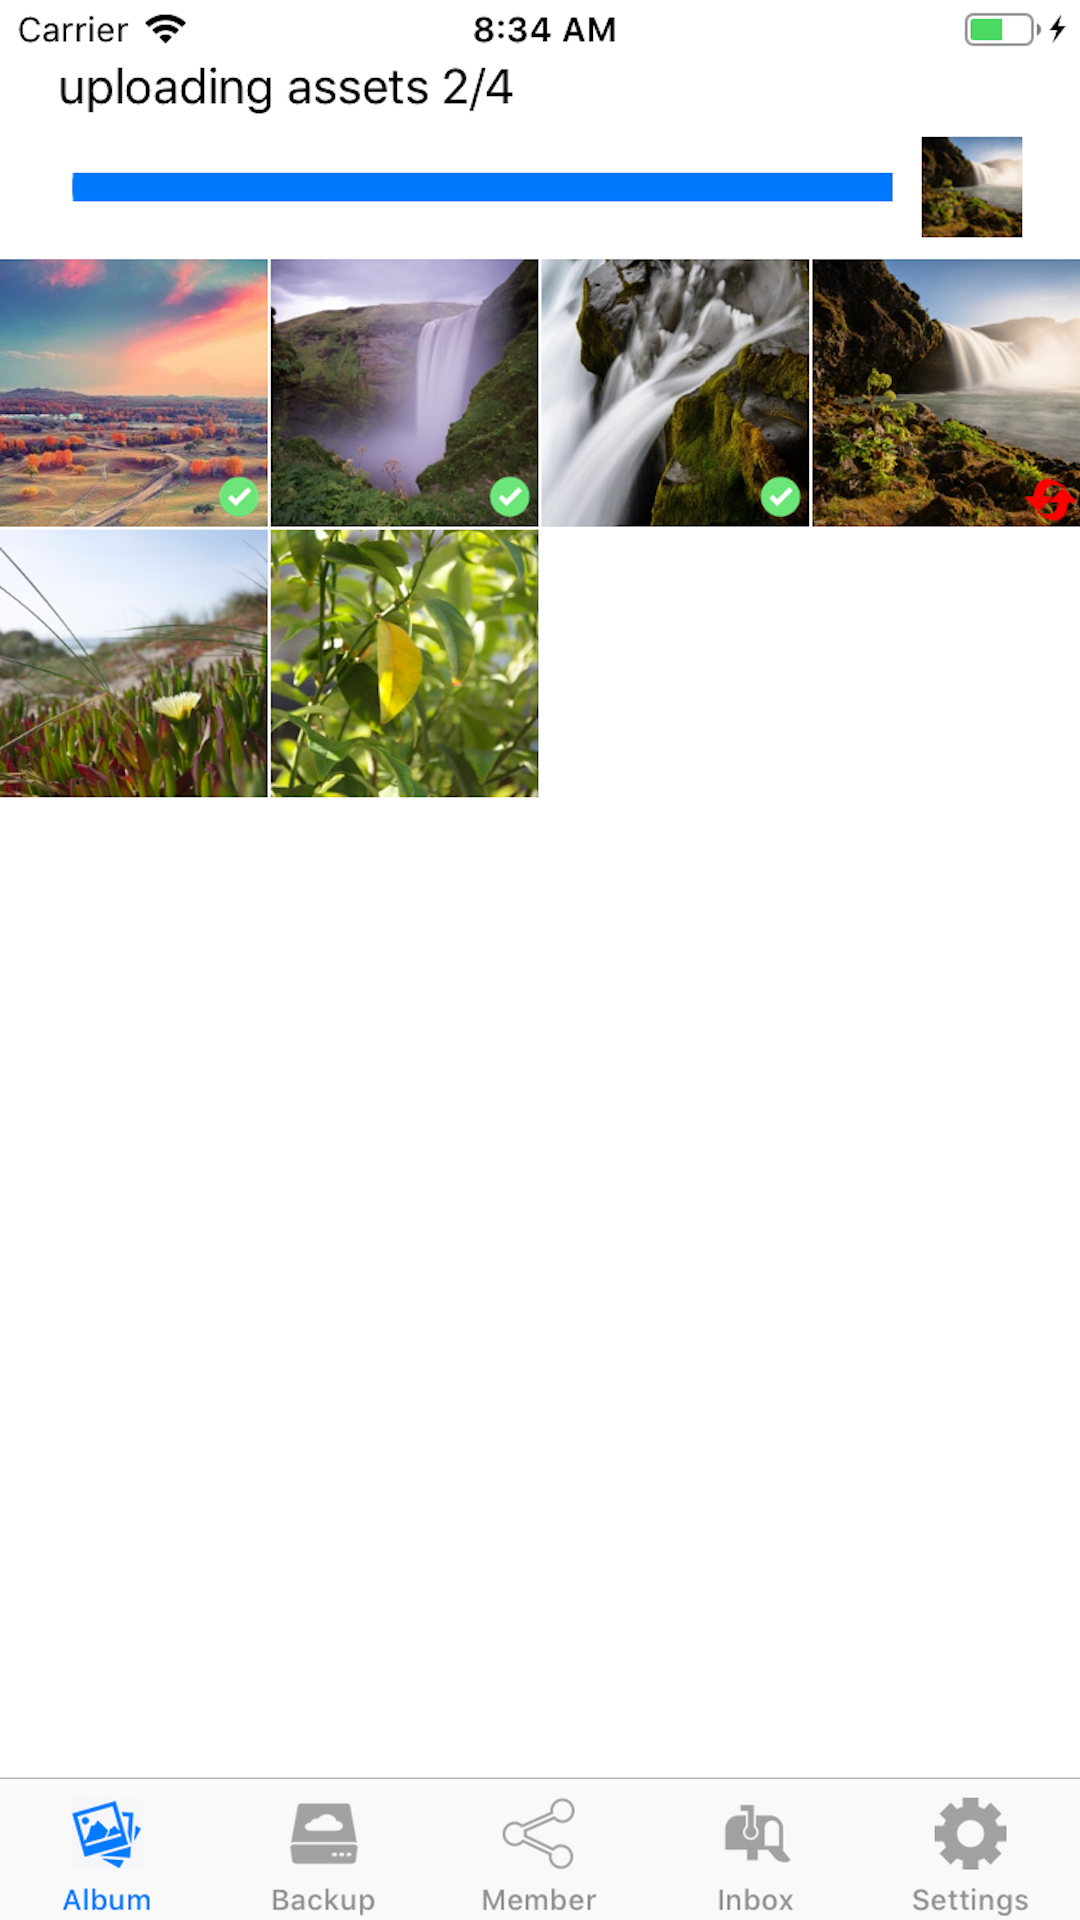
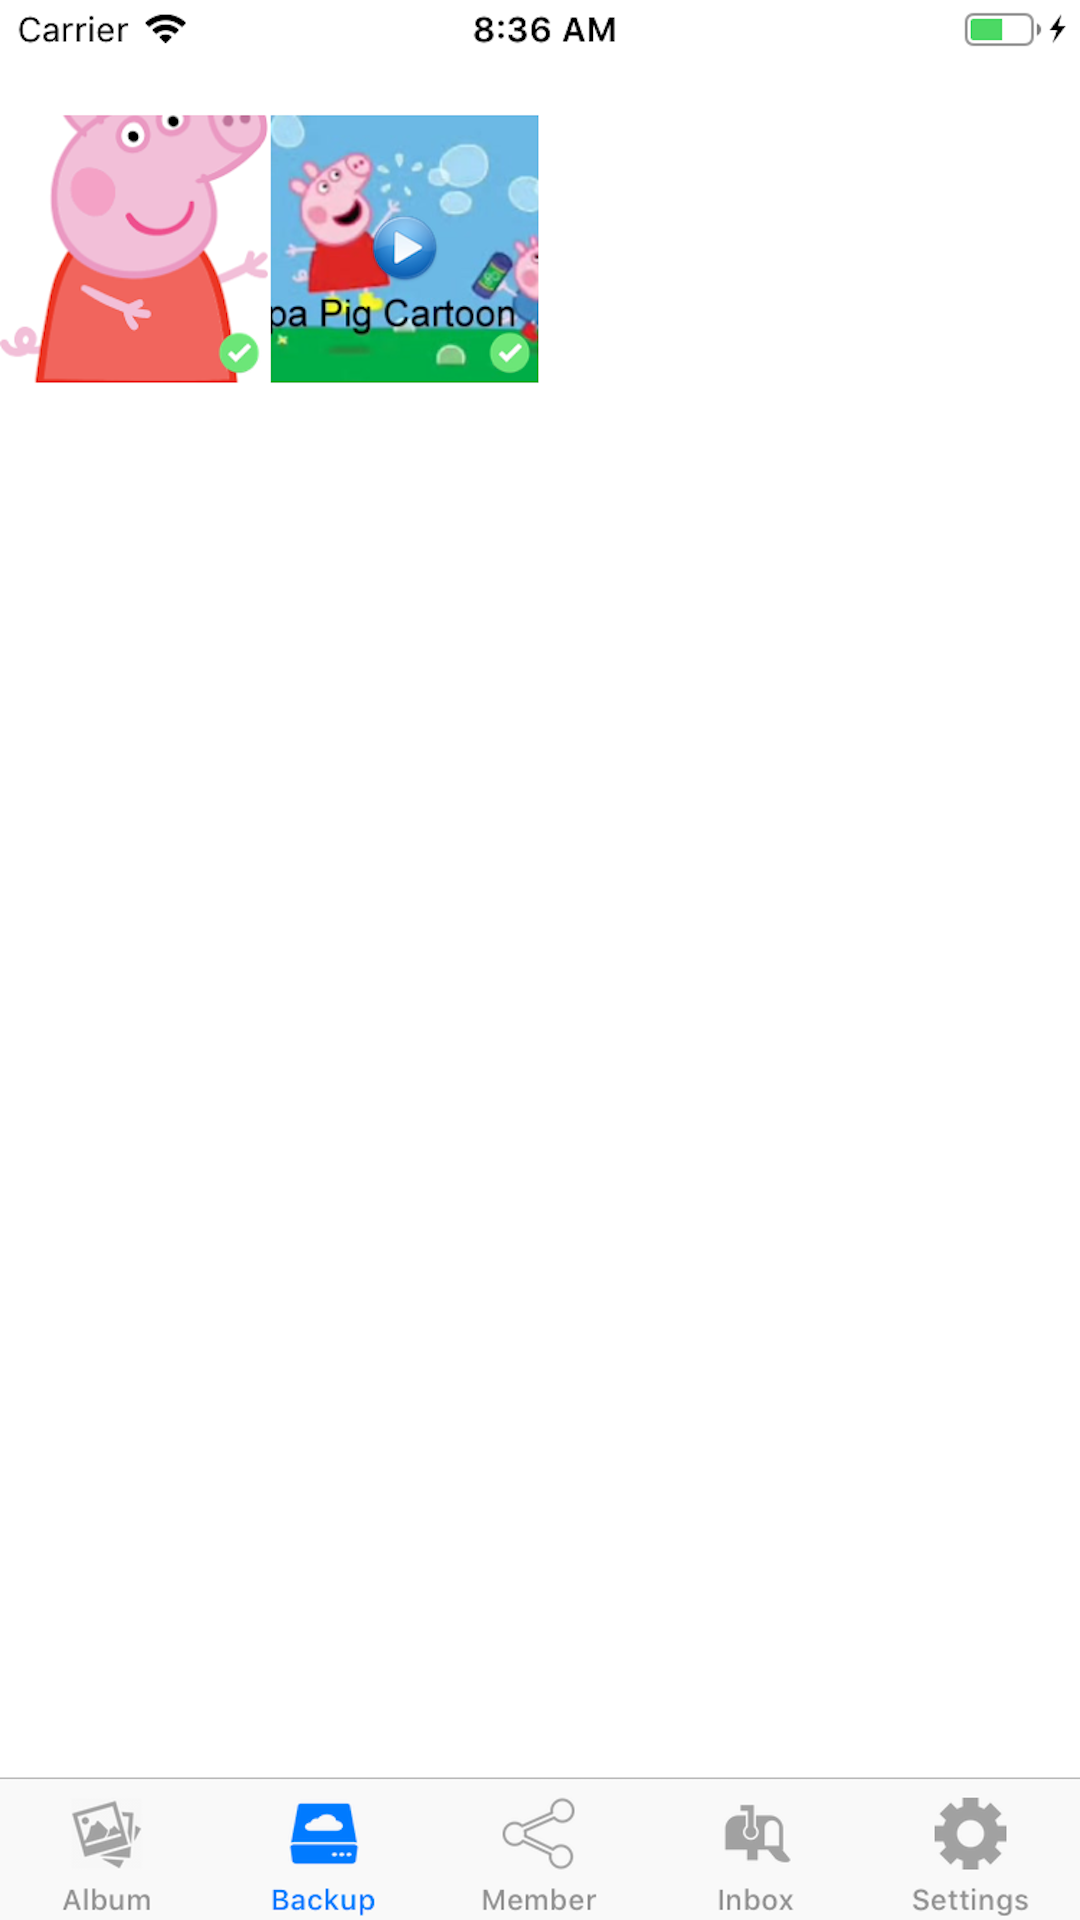
Then you can create user, choose the place you want to store your photos on the “Lomorage Photo Assistant”, after login, it will take a few minutes to import all your photos on phone, and then you can drop down to start uploading the photos to the place you choose to store your backup, if the photo uploads successfully, there will be a green check on the bottom right. The backup tab will show you those photos stored remotely but not exists locally, so if you delete your local photo that already backup successfully, it will show up in the remote tab view.
Lomorage APP will use AI to analyze photos, so that you can search by date, location, objects and text. You can also find those similar photos.
For family members who aren’t comfortable typing a server address and password (kids, grandparents), open Settings on a device that’s already signed in and choose Show Sign-In Code. Enter their username and password once to generate a QR code, then hand your phone to them to scan it and they’ll be signed straight into their own account. The code embeds their password, so only let them scan it directly — don’t screenshot or forward it.